Here in MW, you don’t have to start from scratch when you create a campaign. Why? We have default templates that are ready to use, which may suit your project. All you have to do is to choose from them and utilize our “Clone” function then add your campaign requirements.
To guide you on how to use one of our templates, here is a step by step tutorial so you can easily create your campaign:
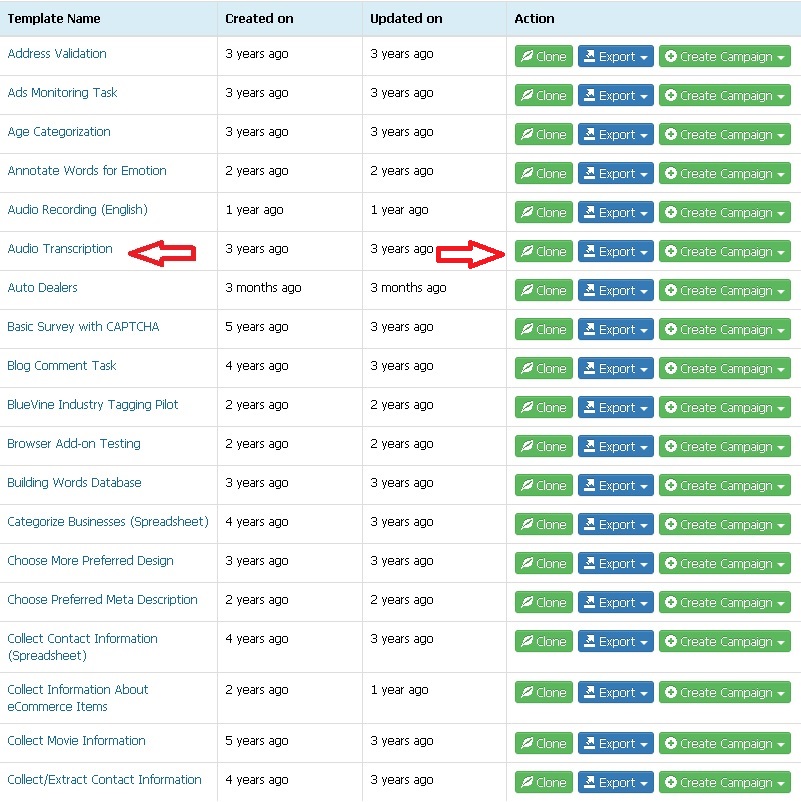
⇒ Click the “My Templates” tab and pick from any of the templates shown, which you think is closely fitted to your project.
⇒ If you want to check the template, simply click the chosen one. On the other hand, you can directly hit the “Clone” option to customize the template.
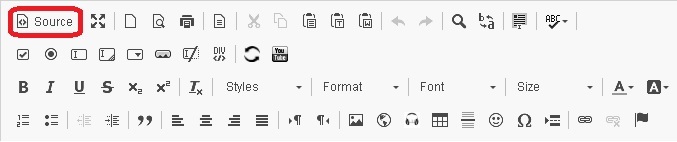
⇒ For simpler sample, we will take the “Take a Survey (External Link)” template just to show you how editing is done. As you can see in the page, there is a template editor toolbar. This toolbar is used for customizing your instruction lay out.

⇒ You can change the steps, links and required proofs in two ways. One is by directly modifying the textual instruction in the template. The other way is through HTML editor. If you choose HTML editor, click the “Source” icon and edit.
You may find this article useful when editing HTML: Tutorial
⇒ When you are done with editing your template, scroll down to the bottom and click “Save and Preview” button. A pop-up box will appear confirming that you have successfully created your template.
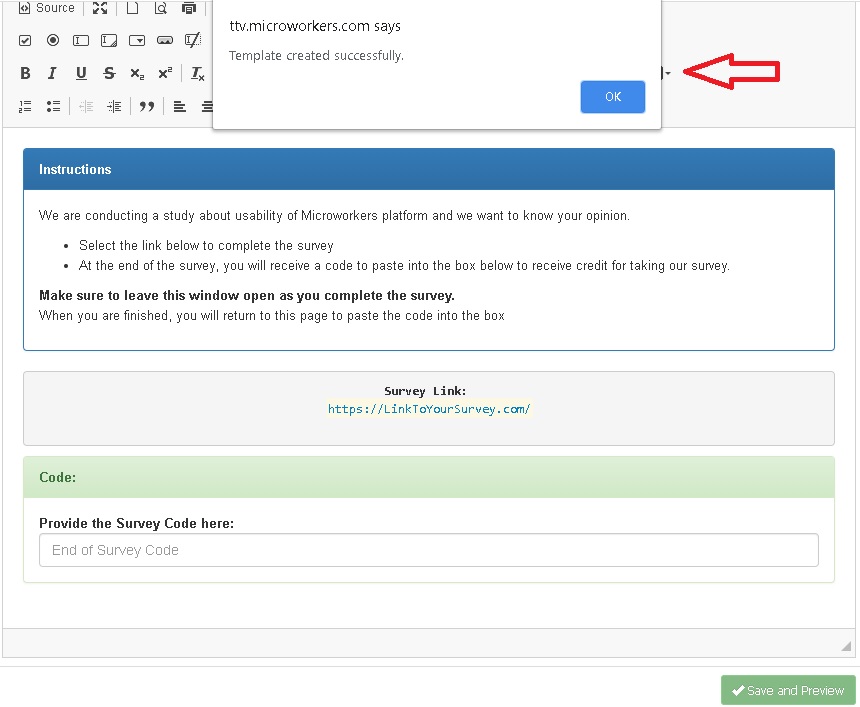
⇒ Template created by you will be shown in the next page with the option to create your campaign. You may choose to submit your campaign under Basic or Hire Group (HG) section.
When you run a “Basic” Campaign, you cannot select Workers. That is to say, every available Worker in the system will be able to accept your job. “Hire Group” Campaigns allow you to assign jobs only to Workers of your choice. You can create Groups of Workers or choose from our Predefined Group of Workers and assign tasks to that particular Group.
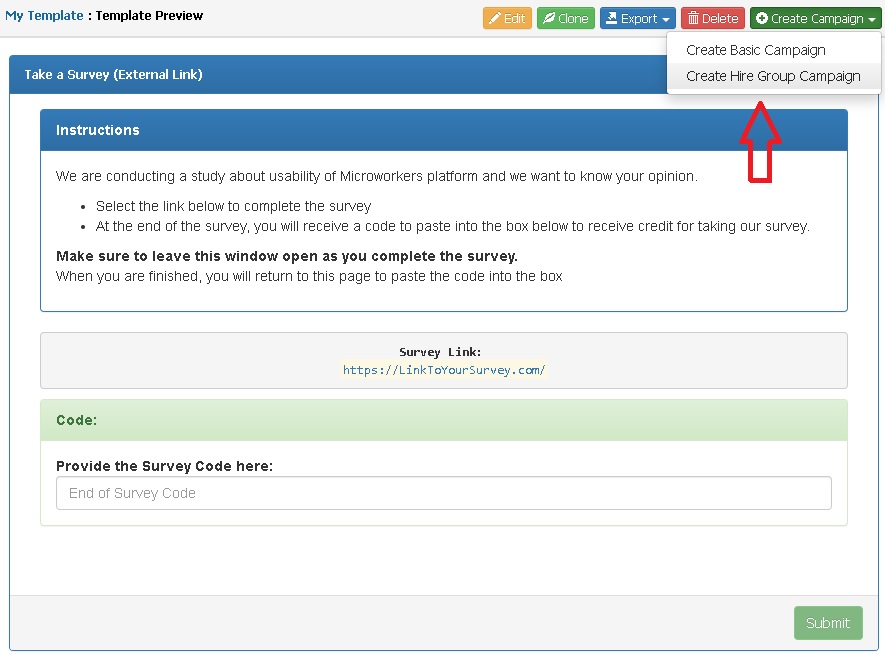
⇒ In this sample, we will create the campaign under Hire Group section. New campaign data page will be displayed. Choose the workers you prefer as well as the correct category for your campaign. Enter all the details ask of you as shown in the image.
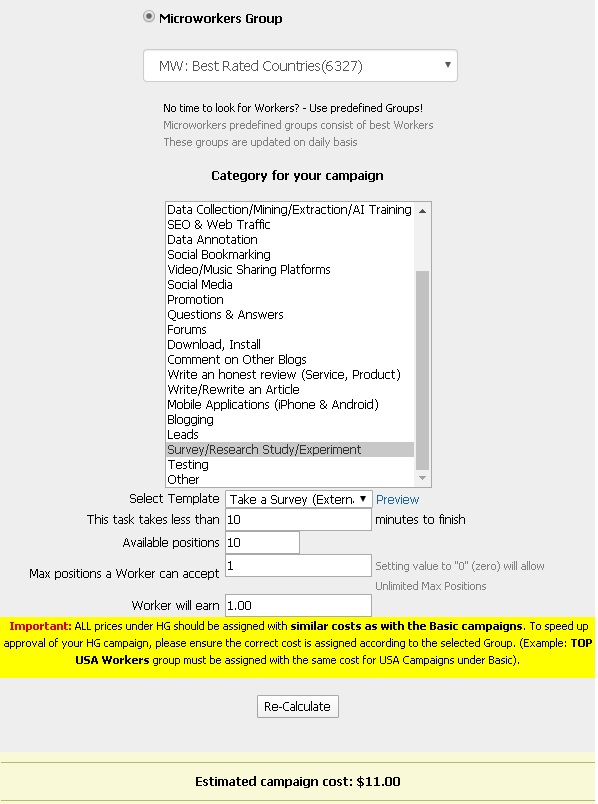
Calculation of cost is set out so you can view if you have enough funds for adding more positions or vice versa.
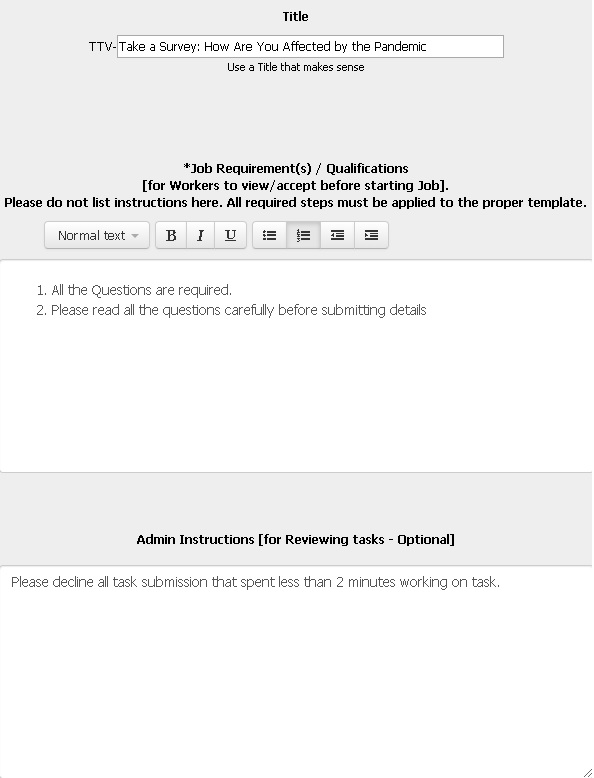
⇒ Write the Title of your campaign.
⇒ In the “Job Requirement(s)/Qualifications” box, you may write a glimpse of your task to give workers an idea on what they are suppose to do. We suggest you do not list your complete instruction of your campaign. All steps must be applied to the your template.
⇒ On the next box, the “Admin Instructions”, is used to list any important information which you would want to notify/bring to an Admin’s attention in connection to task’s review/rating. This feature is optional.
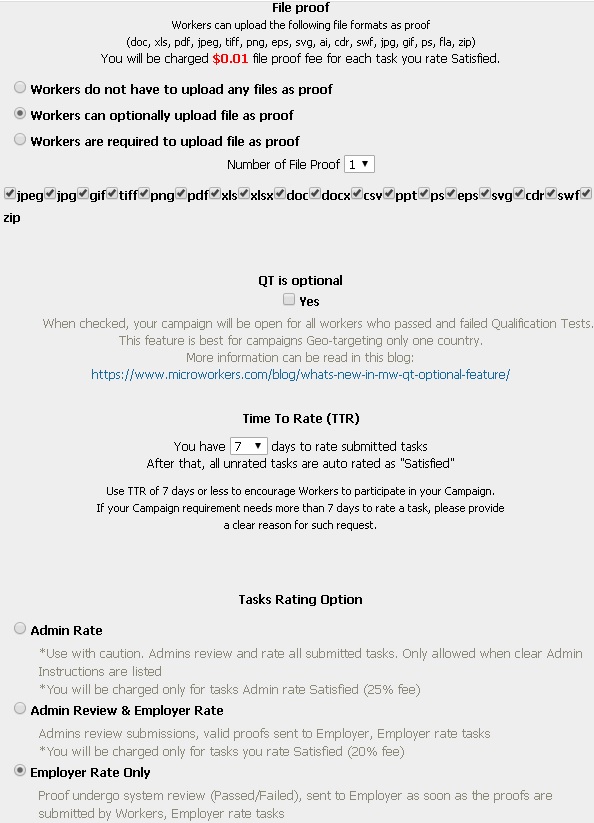
⇒ If you want workers to provide a Screenshot proof or upload necessary file as proof/s, you may tick the options in the “File Proof” section.
⇒ “QT is optional” feature when checked, your campaign will be open for all workers who passed and failed Qualification Tests. This feature is best for campaigns Geo-targeting only one country. More information can be read in this blog: QT Optional
⇒ Next is the Time to Rate (TTR) option. We encourage you to use TTR of 7 days or less to encourage workers to participate in your Campaign. After the TTR, all unrated tasks are auto rated as “Satisfied”.
⇒ Then the “Tasks Rating Option” feature. You may choose from the three (3) rating options that suits your needs. Please be cautious when choosing “Admin Rate”. With this option, all tasks will be reviewed and rated by the admins.
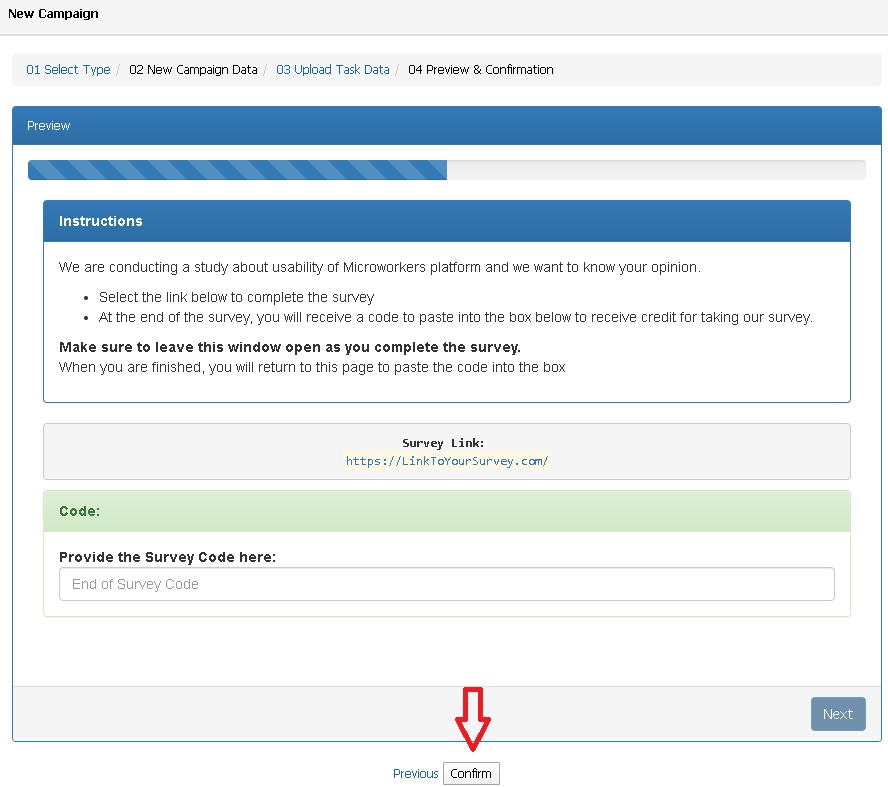
⇒ After that, click the “Create Campaign and go to the Next” button found at the bottom. You will then be redirected to the “Campaign Preview” page.
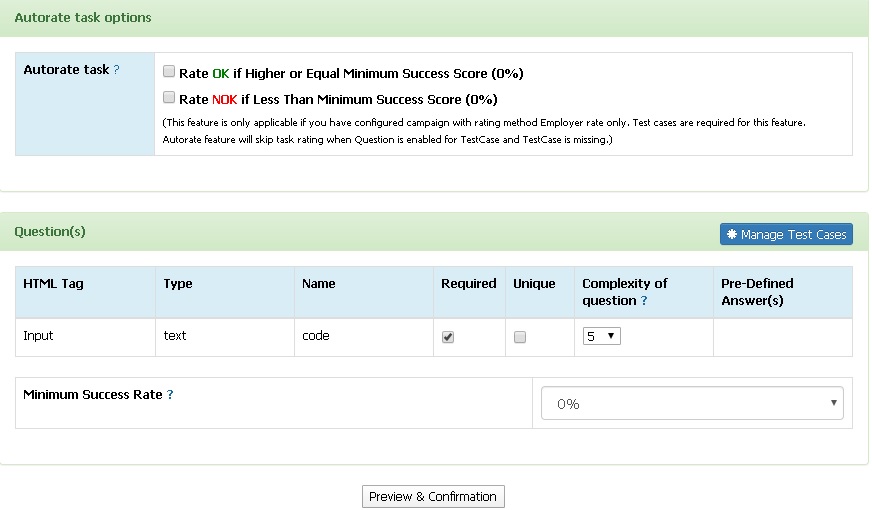
⇒ You will notice the “Autorate task options” and “Manage Test Case” section where the system will auto rate all proofs submitted by the workers. More information about this feature can be read here. Then click the “Preview & Confirmation” button to confirm submission.
⇒ Lastly, click “Confirm” button to finally submit your campaign.
Meanwhile, your campaign is now on pending review and will be activated if found to have no issues.
Alternatively, if you don’t need a template for your project, you may choose to submit your campaign under our “Standard Platform”. Under this platform, you can set up your campaign easily by simply listing your campaign instruction and required proof/s to be submitted.
Hit “My Campaigns” tab and choose which section you wish to submit your campaign (Basic or HG section). Finally, enter all details needed and submit your campaign.
No sweat, right? Got a project in mind? Start right away!
If you have any more inquiries in setting up your campaign, please feel free to contact us 🙂
No Comments so far.
Your Reply