Does your campaign requires workers to categorize your provided images?
Categorization may vary depending on your campaign requirements. Results can be best achieved when you present it nicely. In choosing our TTV platform, image categorization can now be displayed attractively. With our Template Creation feature, categorizing photos can now be better laid out depending on how you wanted it to be displayed.
We have thought of creating an Age Categorization campaign where workers should categorize the ages of the persons in the image provided. We have created a sample Template for this campaign and this is how it looks like:
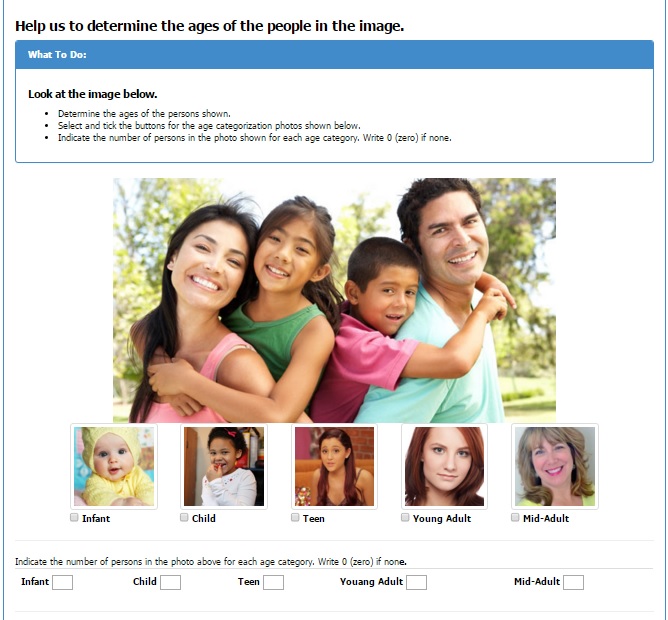
As you can see, we have used thumbnail photos for describing the age categories instead of just writing or providing a text definition for each age bracket. With this approach, workers can easily categorize the ages of the persons seen in the photo. Moreover, workers prefer descriptive photos instead of reading text descriptions as this may take time and some tends to skip reading some parts of the instruction thus this may result to useless results.
How to make this Template? Follow guidelines below.
Guidelines to Follow:
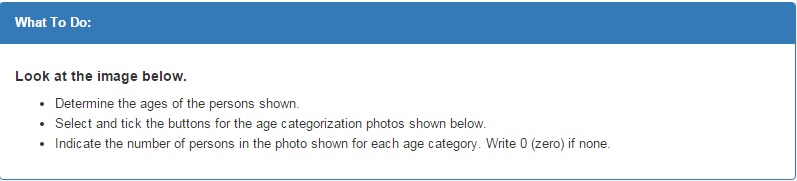
- As for every campaign, instructions are being displayed first. We used Bootstrap Panels in listing instruction to make it look nicer to read.
- When inserting an image, we take advantage of the image icon in the Editor Panel as shown below:

- Insert the details of your image such as the URL, width as well the height in the box that will appear upon clicking the image icon. You can also customize your image depending on how you want the image to appear.
- Now since images can come in different sizes, we need to adjust them to fit the size of our screen to make it look better. This can be automatically scaled nicely by using Bootstrap Responsive Tags.
<img class=”img-responsive” src=”http://www.ctfsa.org/img/misc/41.jpg”>
- In our Template, we tried putting the image in the center. To achieve this, we have applied the following tag in the class:
<img class=”img-responsive center-block” src=”http://www.ctfsa.org/img/misc/41.jpg”>
***If you require a CSV file for the images, source code should look like this:
<img class=”img-responsive center-block” src=”${IMAGEURL}“>

- In the age categorization images, since we have five (5) images, we have used Bootstrap Grids to make our images fit the screen and appear nicely even on small screens. In each age image, we have also used Bootstrap Image Shapes and have chosen a “thumbnail” image shape. Thus, HTML looked like this:
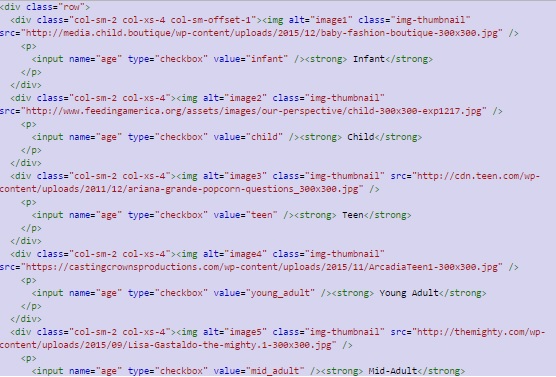
You will notice that we have used this tag: “col-xs-4” in <div class=”col-sm-2 col-xs-4“>. This enables the images to look nicer even on small screens like mobile devices.
Source: Bootstrap Grid Small Devices
For workers to choose their chosen age image categories, we have used a checkbox so workers can choose one or more categories.
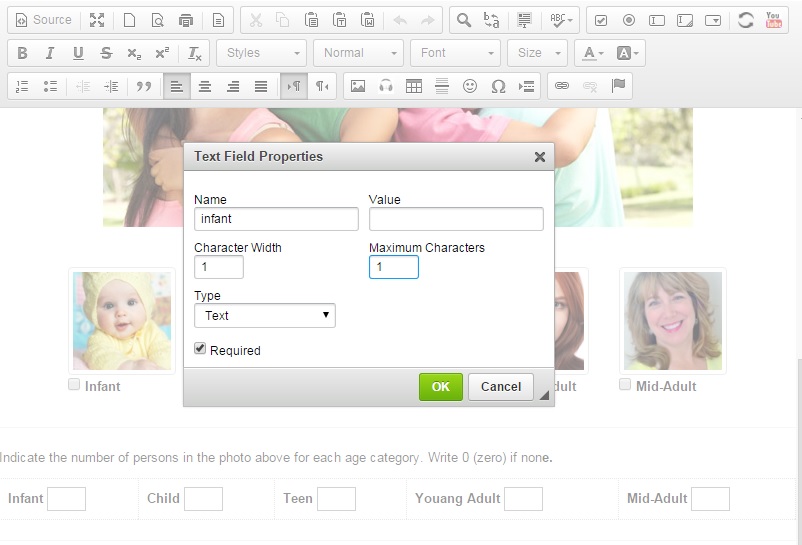
- Lastly, we used Bootstrap Tables to list the number of persons in each age bracket. To have a box where workers can put the numbers, we have utilized the “Text Field” icon as shown below:
There are actually many ways on how you can present your Categorization campaign. If you would be needing assistance on how to create your Template, you can always contact our admin personnel and we are ready to assist you at the soonest possible time.
6 Comments
Thanks, looks easy to do such tasks and requires less time than before.
I love this site very much . .
In future I want to work with this site >
cool
Interesting and helpful way to manage pictures.
I like it.
interesting
Your Reply