Our TTV (Template Test & Verification) platform is designed for more complex campaigns such as Data Transcription, Video Transcription, Image Categorization, Surveys and more. Such campaigns are now possible through our Template Creation feature.
In this article, we would like to show you how a Template is created and how you can create your campaign with your provided images/photos.
One good thing about TTV is you can create your own Template in accordance to your preferences, especially if your campaign entirely caters images. For instance, if your campaign requires Workers to rate or match photos, tag images given, write a description of a picture, etc., TTV is the best way to achieve the desired results.
Originally, TTV already has Default Templates you can use such as the “Moderation of an Image” or the “Categorization” template. You may clone these Templates if you prefer to use them for your campaign. Utilize the “Clone” button found in “My Templates” page then edit or add some instructions. But if you prefer to create your own Template, follow the simple steps below.
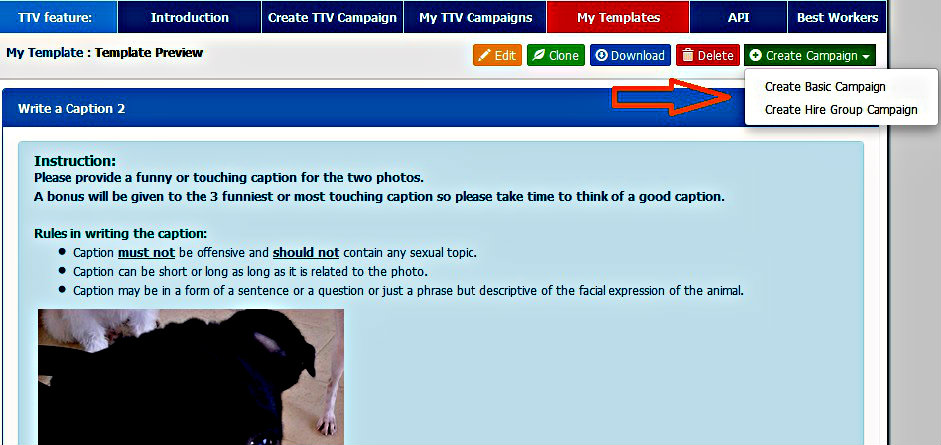
Let’s take the “Write a Caption” campaign as our example. This campaign requires Workers to write captions of animal pictures. Take a look at the photo below to see how the Template created looks like:

Steps to Follow:
1. Click “Create a New Template” button found at the left side in the “My Templates” page.
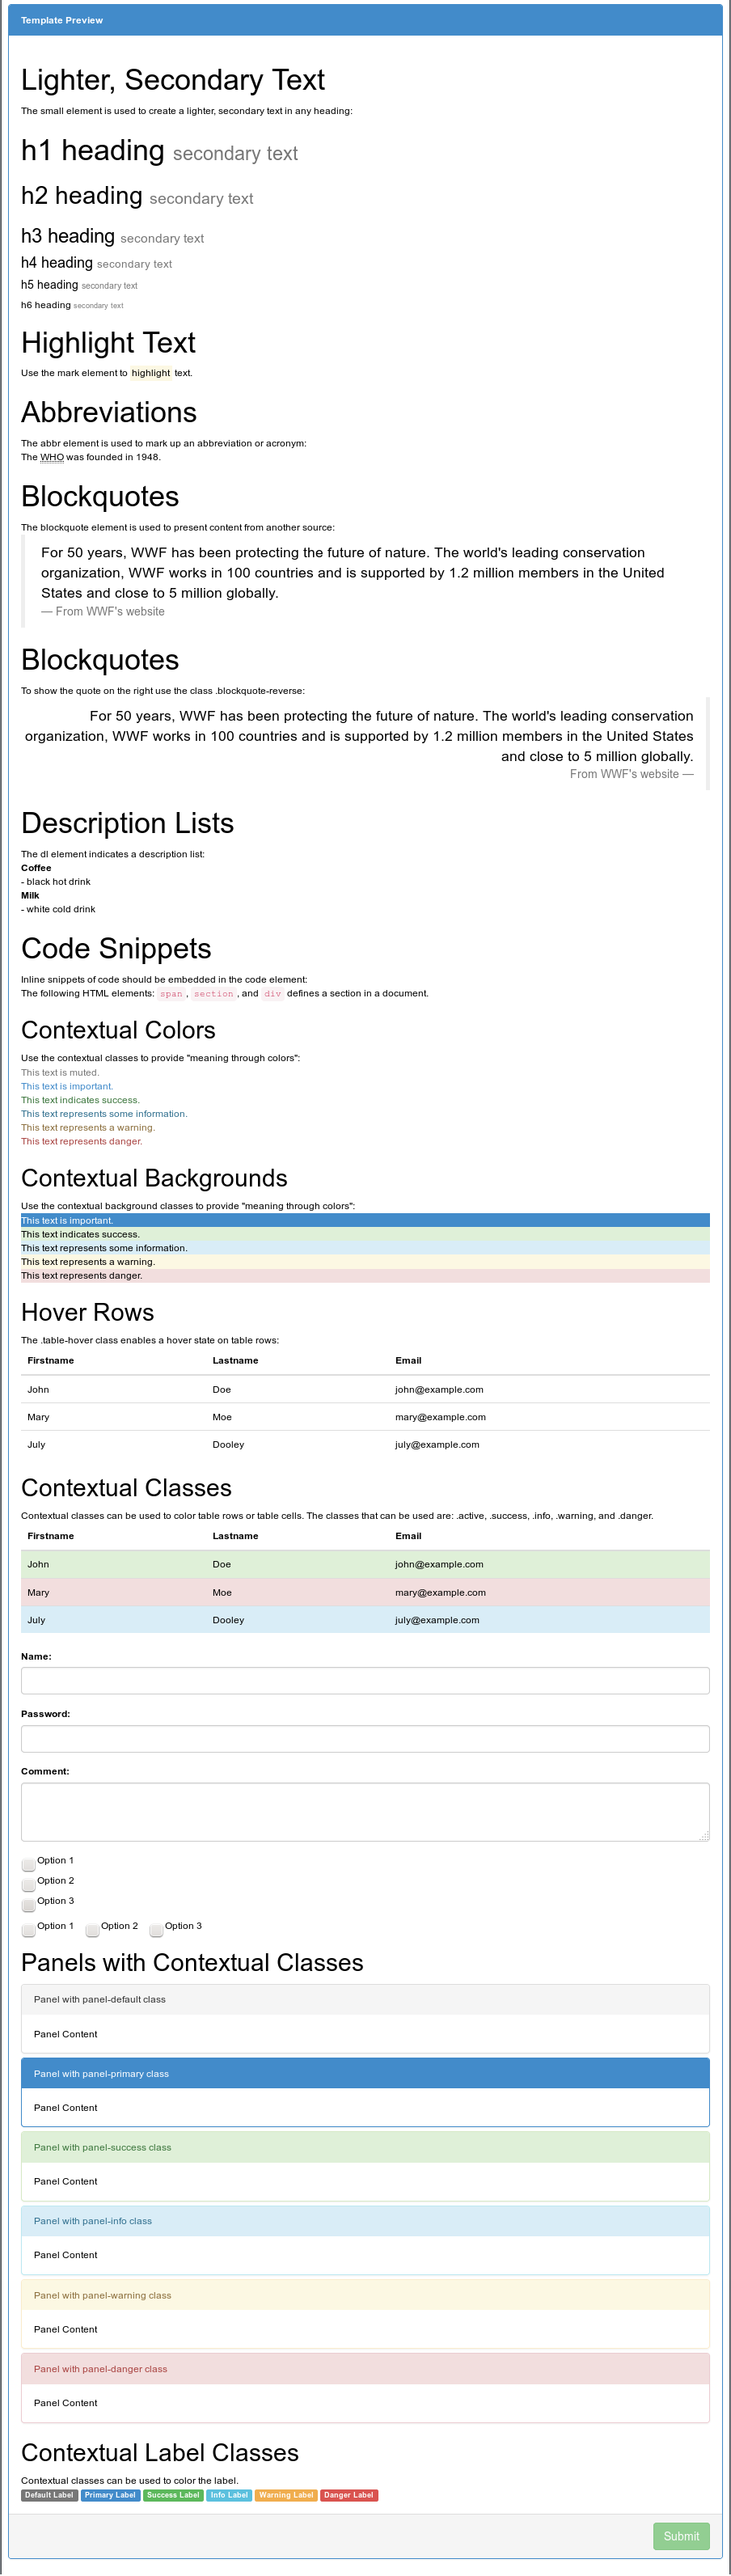
2. In the Template page, type/write your required steps. Writing steps and/or instruction of your campaign will depend on how you want it to be shown. We have several icons in the page to use for your Template. And now that we have upgraded our TTV editor showing bootstrap styles, you can already apply different font sizes, create better tables, alerts boxes, nice form elements and more.
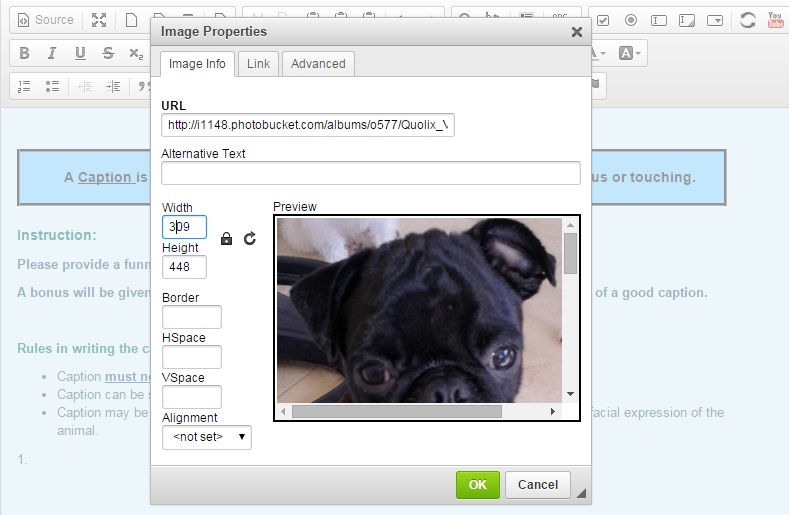
3. When done with the instruction, to insert photos, we use the icon for images as shown in the picture.

4. A box will appear where you can insert the link to your image. You may customize the width, height even the border of your image and its alignment, if you prefer. Then click OK.
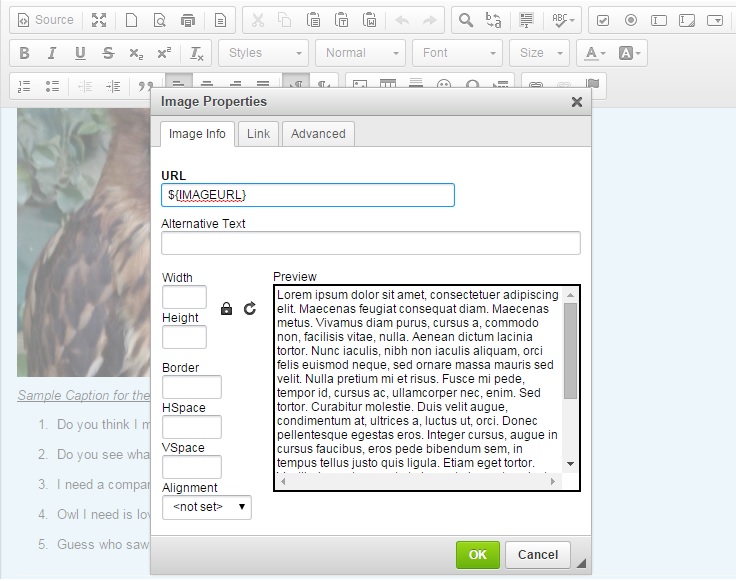
**If you will be needing a CSV file for your images, you should insert the variable ${IMAGEURL} instead of the link to your image as shown in the picture below:
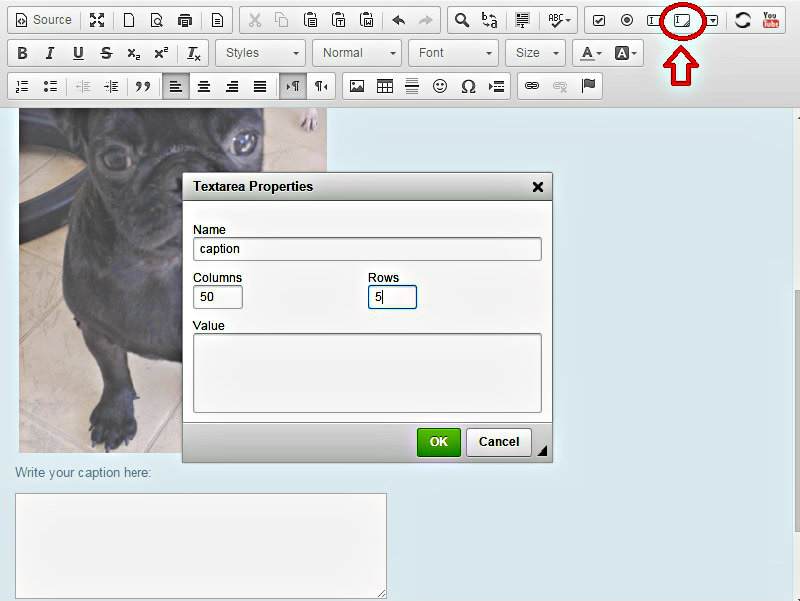
5. Your image will already be shown in the template. Now to make a box where workers can write their caption, we use the Textarea icon, click it and a box will appear. Enter details of your customization then click OK.
6. When done, click “Save and Preview” button at the bottom to save your created Template. You can now see a preview of your created Template. As you will notice, there are buttons in the upper right corner where you can choose to edit, clone or delete your Template. Should you prefer to proceed with the Template, you can now create your campaign by clicking the “Create a Campaign” button and choose from Basic or Hire Group campaign.
**As for the color background and columns, you may explore HTML codes using these sites:
Creating your Template with images is as easy as that. The design of your Template will depend upon how you would like it to appear. If you have any concerns or problems in creating, you can always reach our admin personnel and we will be very glad to help you.
1 Comment
Very Good
Your Reply