What better way to lay out your data collection campaign? It’s through using a Spreadsheet form! Spreadsheet is an essential tool to organize and categorize data in a structured way. Once data is entered into your spreadsheet, it can already help you formulate and grow your business.
We have made it easier for you to create your Data Collection campaign. Now you don’t have to start from scratch! With our default Spreadsheet templates, you can start right away!
⇒When your campaign requires Data Collection of Contact Information, this Collect Contact Information Spreadsheet Template is the ideal one for you! By default, this template displays 4 columns in one row:
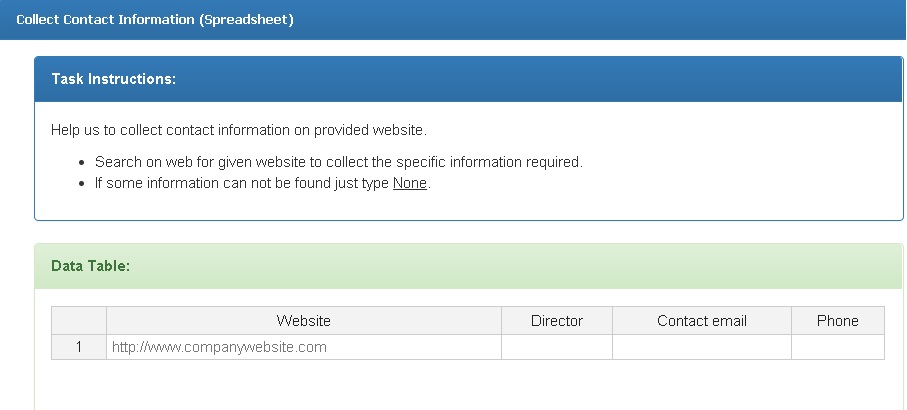
Template will help you gather Primary Contact Persons, Email Addresses and Phone Numbers for the given websites. It is customizable so you can edit/update the needed information.
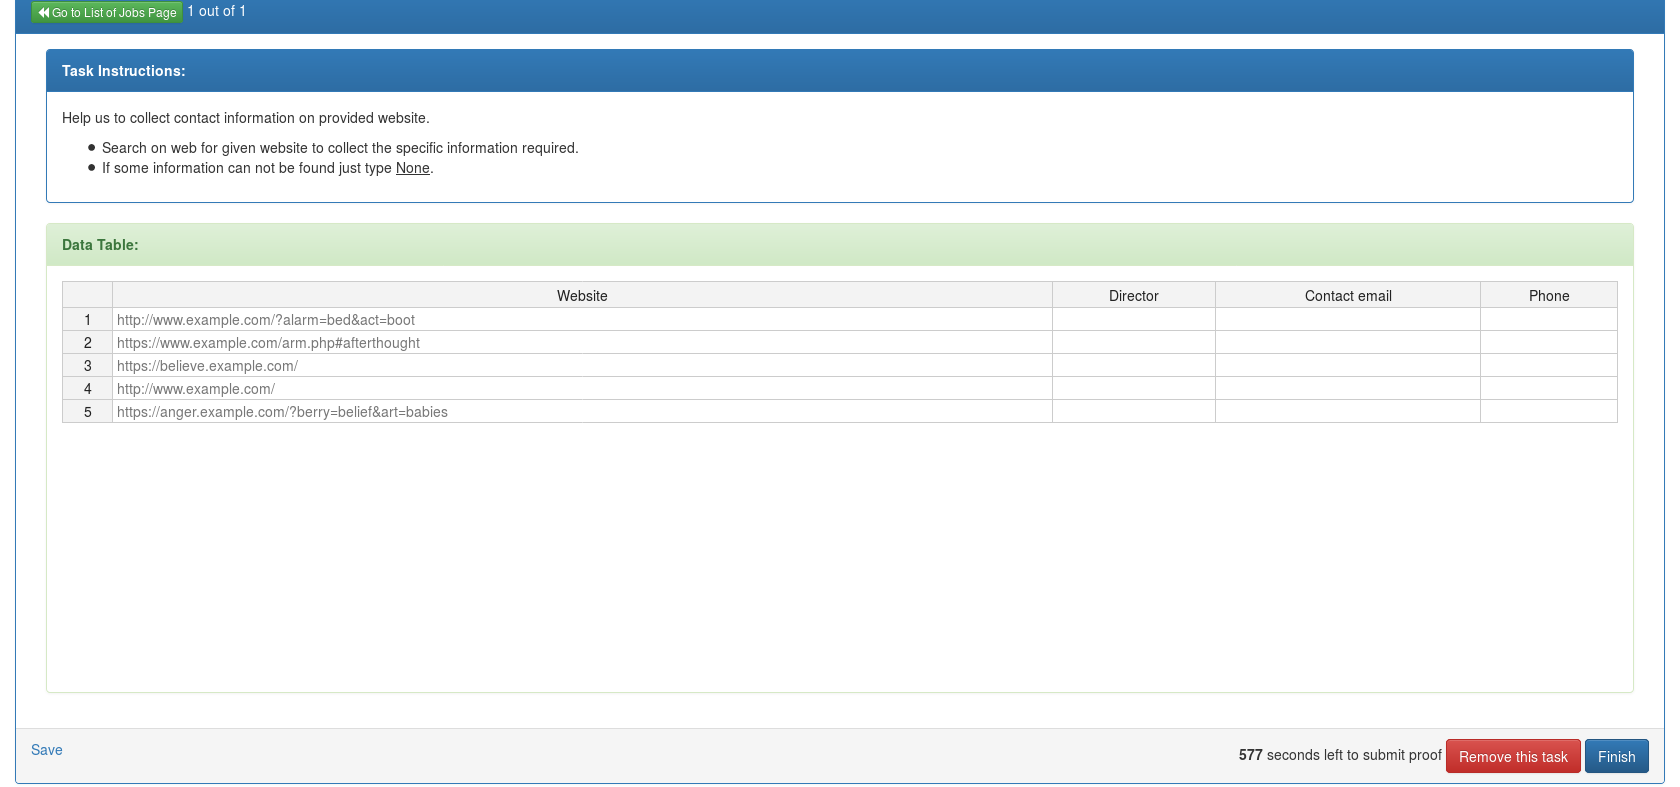
If you would be collecting more than one (1) information in the Data Table, you can use campaign configuration by adding sub-tasks, no need to update your template. Adding sub-tasks will display more rows in your Data Table. Let’s say you need workers to search information for 5 websites, adding the number of sub-tasks upon campaign creation will require Workers to provide information to your 5 given websites. You may select to display the sub-tasks in one same page OR another page upon campaign creation. If you choose to display the sub-tasks in one page, your template will show 5 rows on the same page and will look like this from Worker’s end (please click the image for clear viewing):
How to do this? Upon creating your campaign, tick the checkbox for “Display subtask on same page” as shown in the image below. Add the number of sub-tasks you require. This will automatically add rows to your table.
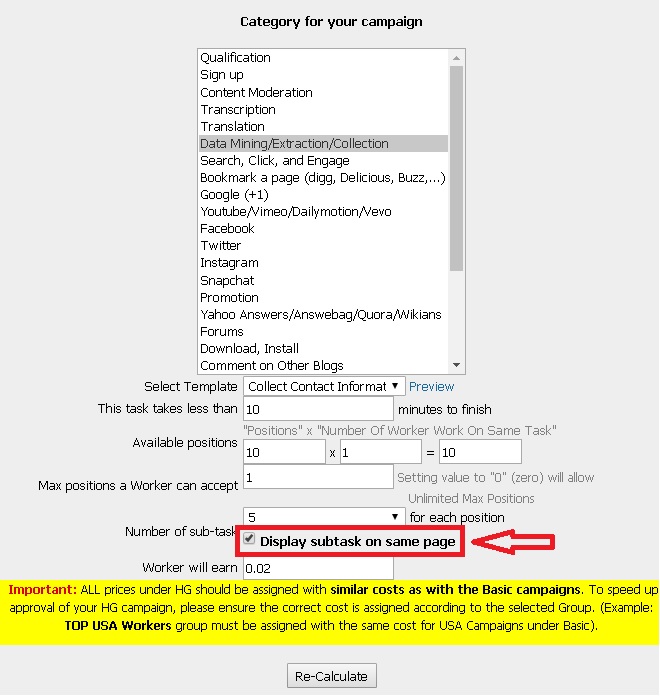
If you will not tick the checkbox, it will just show one row in each sub-task. Workers will then enter their collected data in 5 pages for each sub-task.
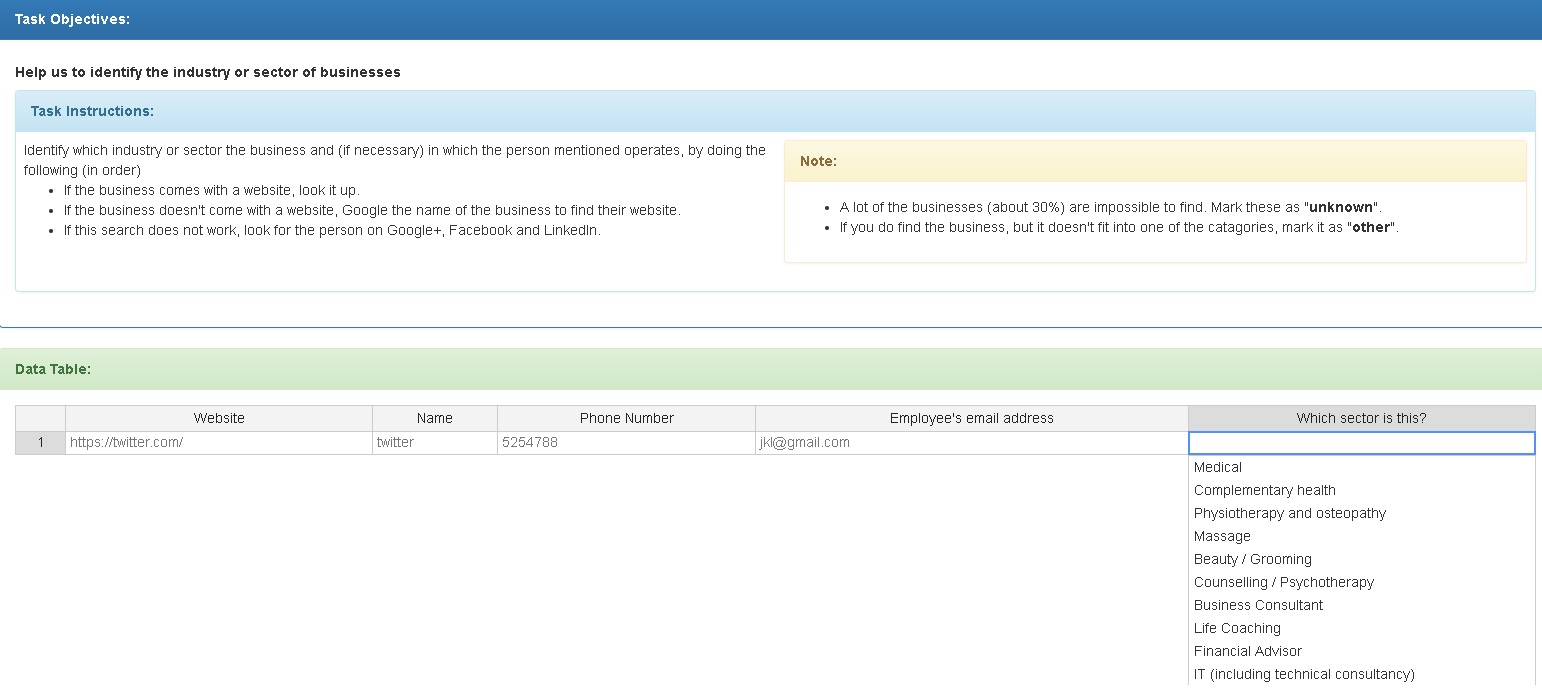
⇒Another Spreadsheet template we have is the Categorize Businesses Spreadsheet Template. This template helps you to categorize the industry of sector of certain businesses.
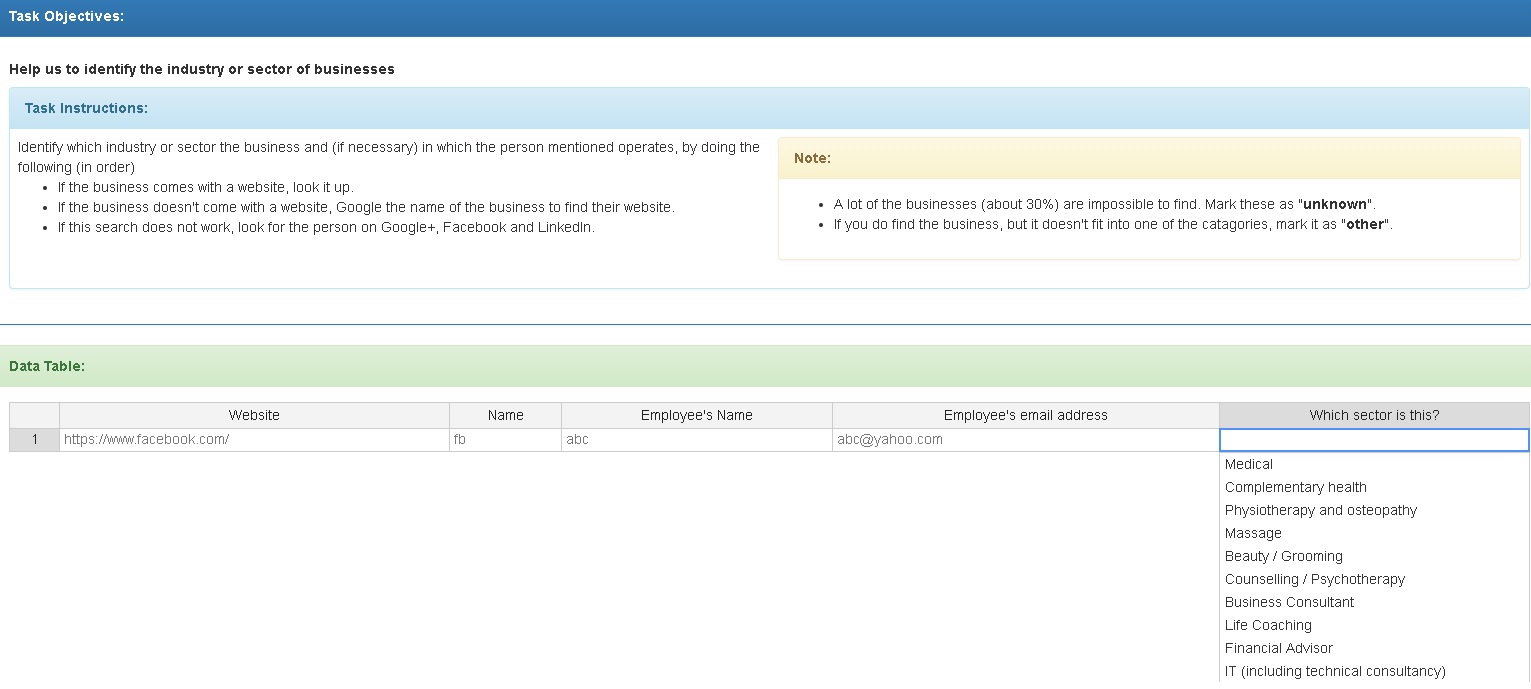
Same with the first template, you may also add sub-tasks/rows in your template in the campaign configuration. Specify the number of rows you wish to add.
Now if you wish to add or remove columns for your required information, you need to update HTML template source code. Follow these steps as your guideline:
- In the individual template page, click the “Clone” button to edit your template for your requirements.
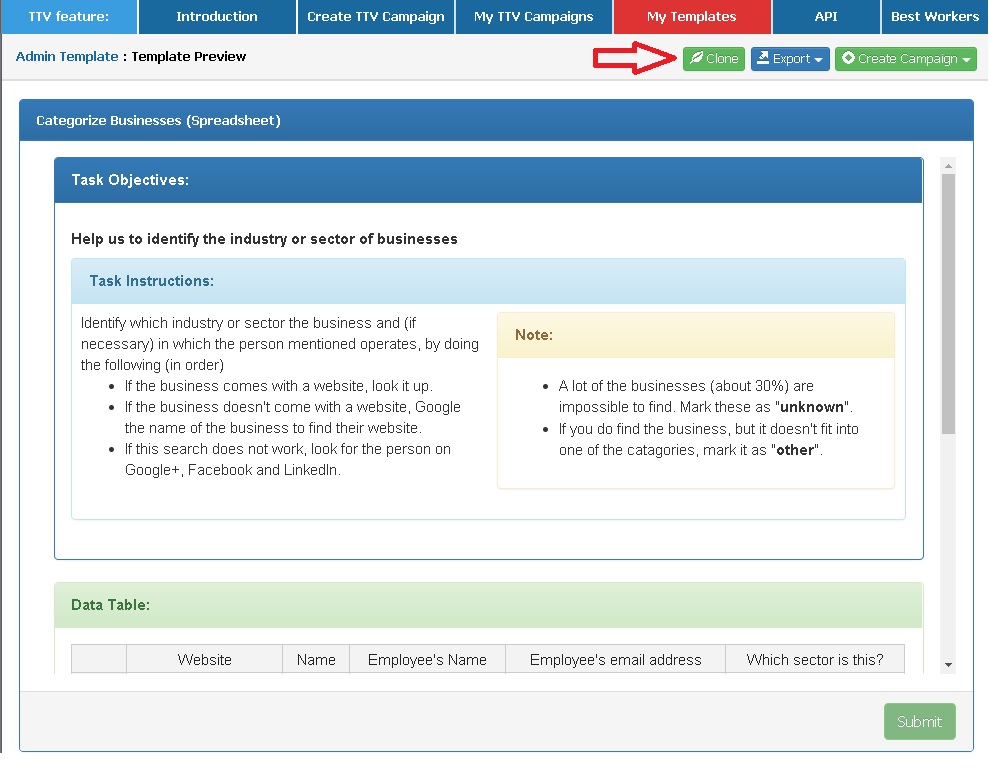
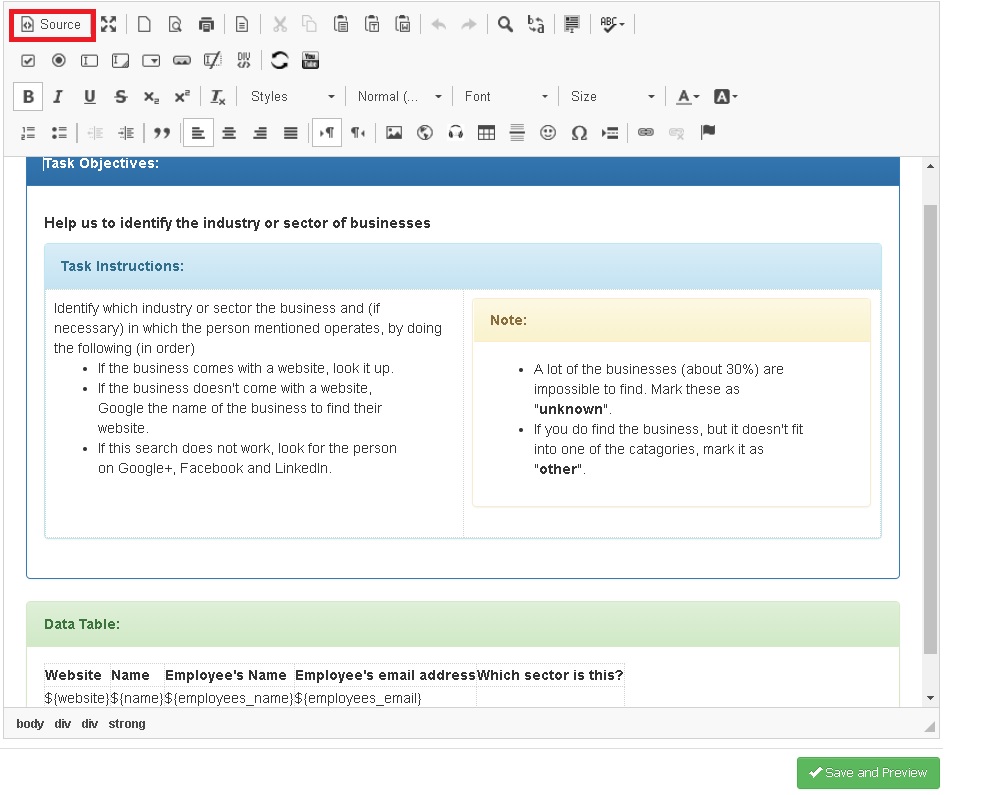
- It will then redirect you to “Create Template” page. To update HTML template source code, click the “Source” as seen in the image (red box):
- Now take a look at these HTML codes in red box. Each red marked box, the “th”and “td” tag, is useful for single column. If you remove these two sets of tags, it will remove that column in your Spreadsheet.
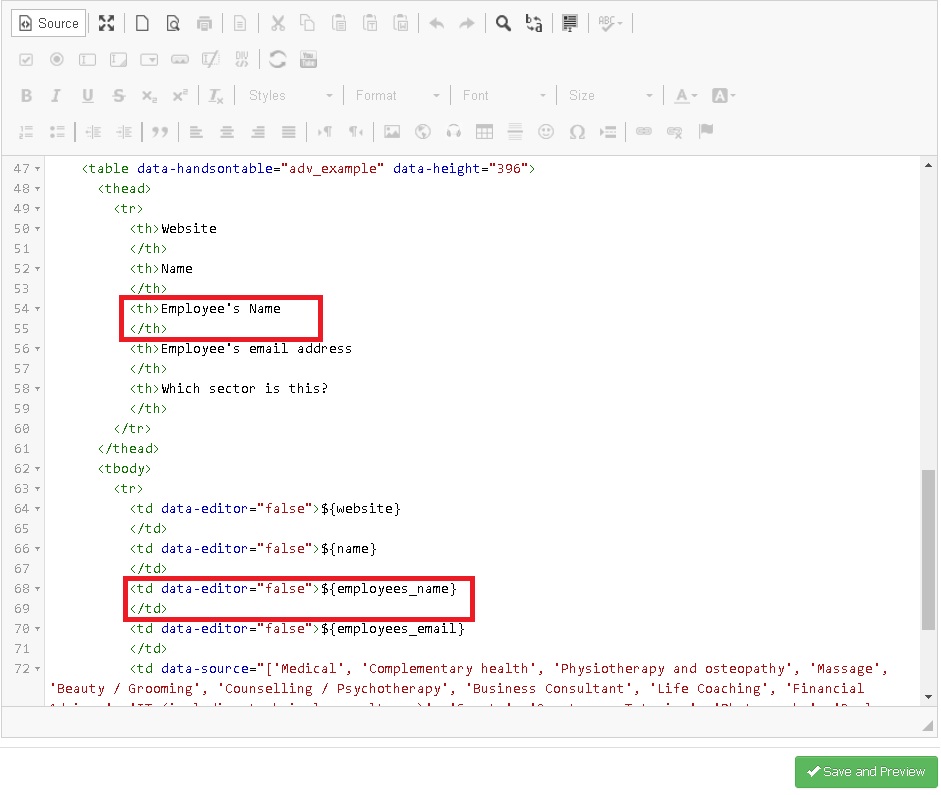
Template will now look like this having only 4 columns instead of 5 as it is originally set:

- If you wish to add another column, for example, you like to add “Phone Number” to your Data Table, you need to update your HTML code by inserting the following red marked box tags in your source code:
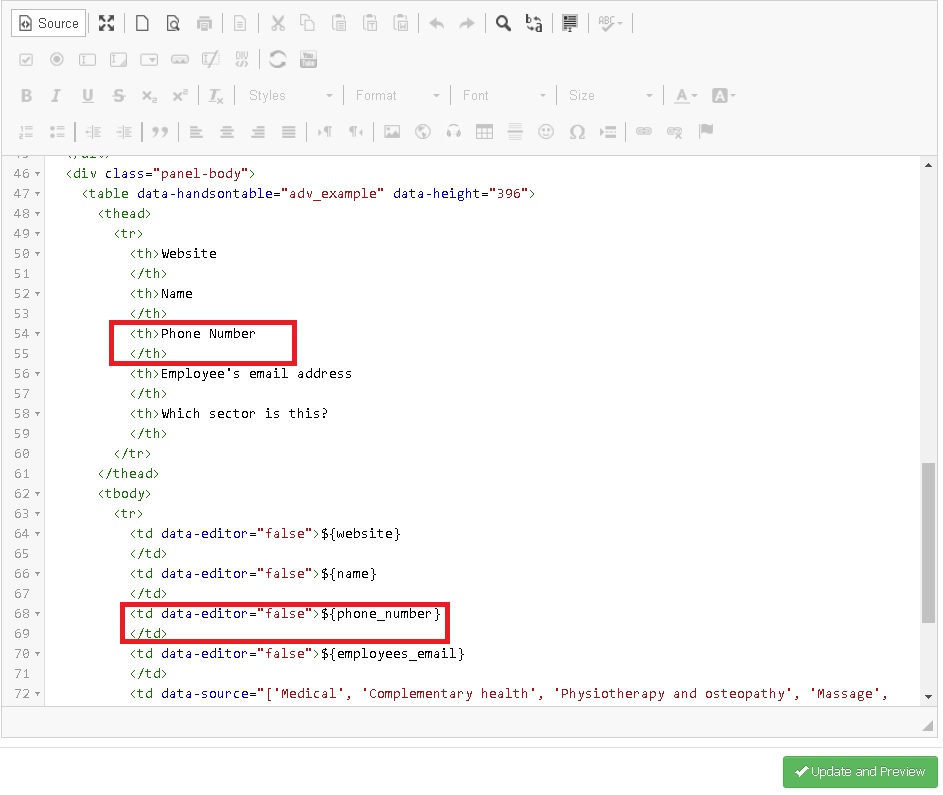
Template will display another column to your Data Table:
If you would be needing assistance in setting up your Spreadsheet template, you can always send us a message and we will be glad to assist you 🙂
No Comments so far.
Your Reply